P R I S M
Game Summary
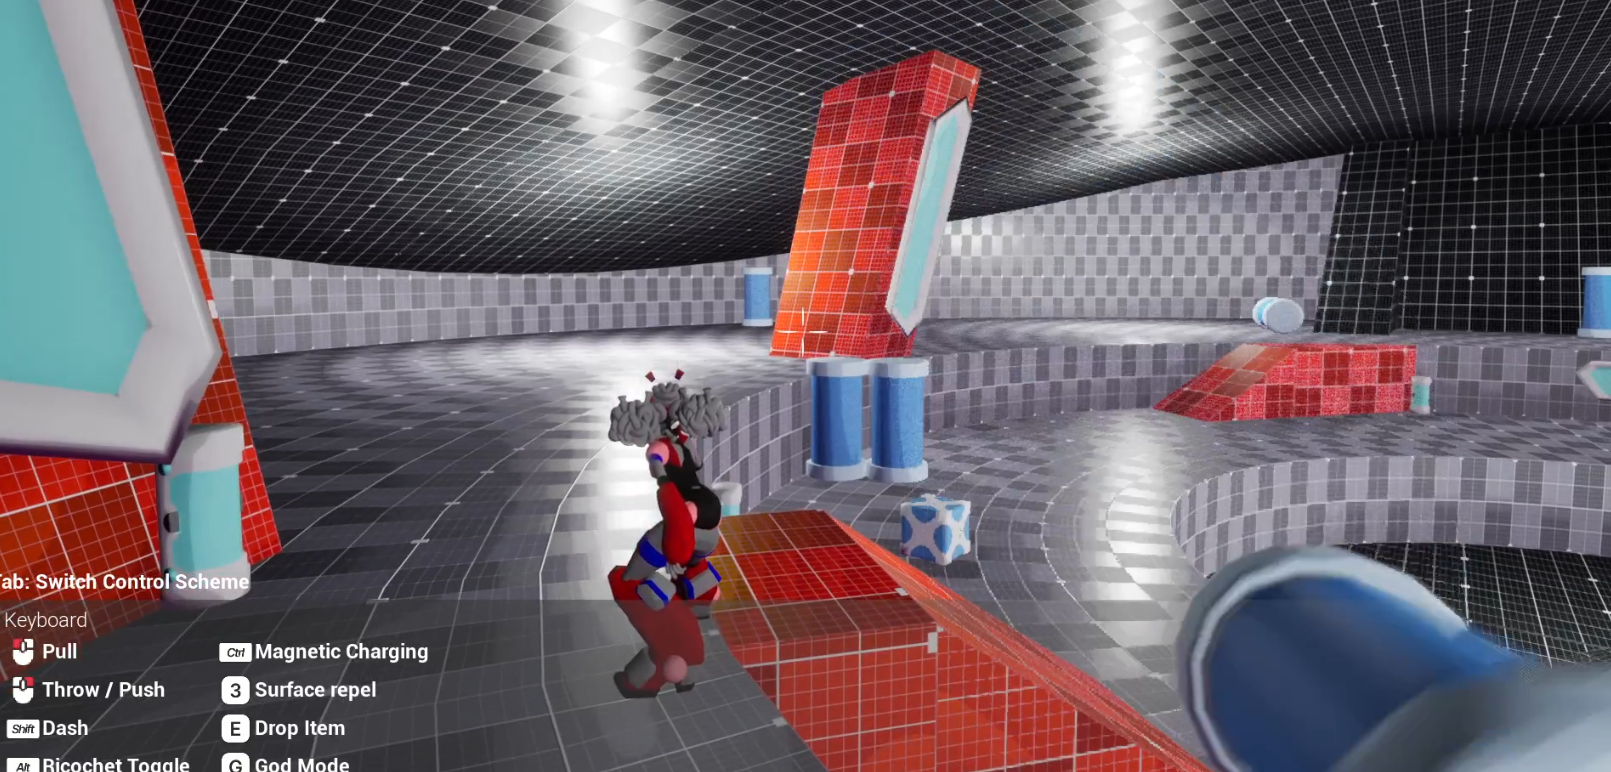
Prism is a 3rd person action-combat game that revolves around magnetism. In a future that is ruled by android oppressors you fight with magnetic power to literally and figuratively bring people together.
The design intention is for combat situations to feel dynamic, using the environment as a source of weaponry for both the player and for enemies.
This project is still in it’s early stages, but a large amount of the core gameplay mechanics are implemented. Allowing for a strong foundation for future development.
Developed in collaboration with:
Coming out of my Masters Degree, I and a collective of other students were invited to work on this project while we all followed different pursuits.
As one of the earlier adoptees, I changed role a few times during development, starting as a Game Designer, to Game Design Lead, to System Designer as I started to move away from the project.
Overall I think the skill I truly built upon the most during this project was my organisation and consistency: In terms of design, implementation and leadership.
My Roles in this Project
Project Organisation
A mixture of Notion, Miro & Discord were our home regarding all documentation and materials for the project.
Notion being a location for Kanban boards, feature lists, meeting notes & recordings, the GDD (in the form of a wiki) and onboarding materials for new members of the team.
Miro being an area for designers to post stories, levels, research, ideas, mind maps, etc.
Discord being an area for messaging, meetings, teamwide updates, casual chatter.
Tools Used





Project Logistics
Team Size

Platform
PC
Duration

30+

26 Weeks
Game Design Lead - Weekly Meetings
As the Game Design Lead, I ran a weekly stand-up meeting with the rest of the design team to update and then set our weekly goals.
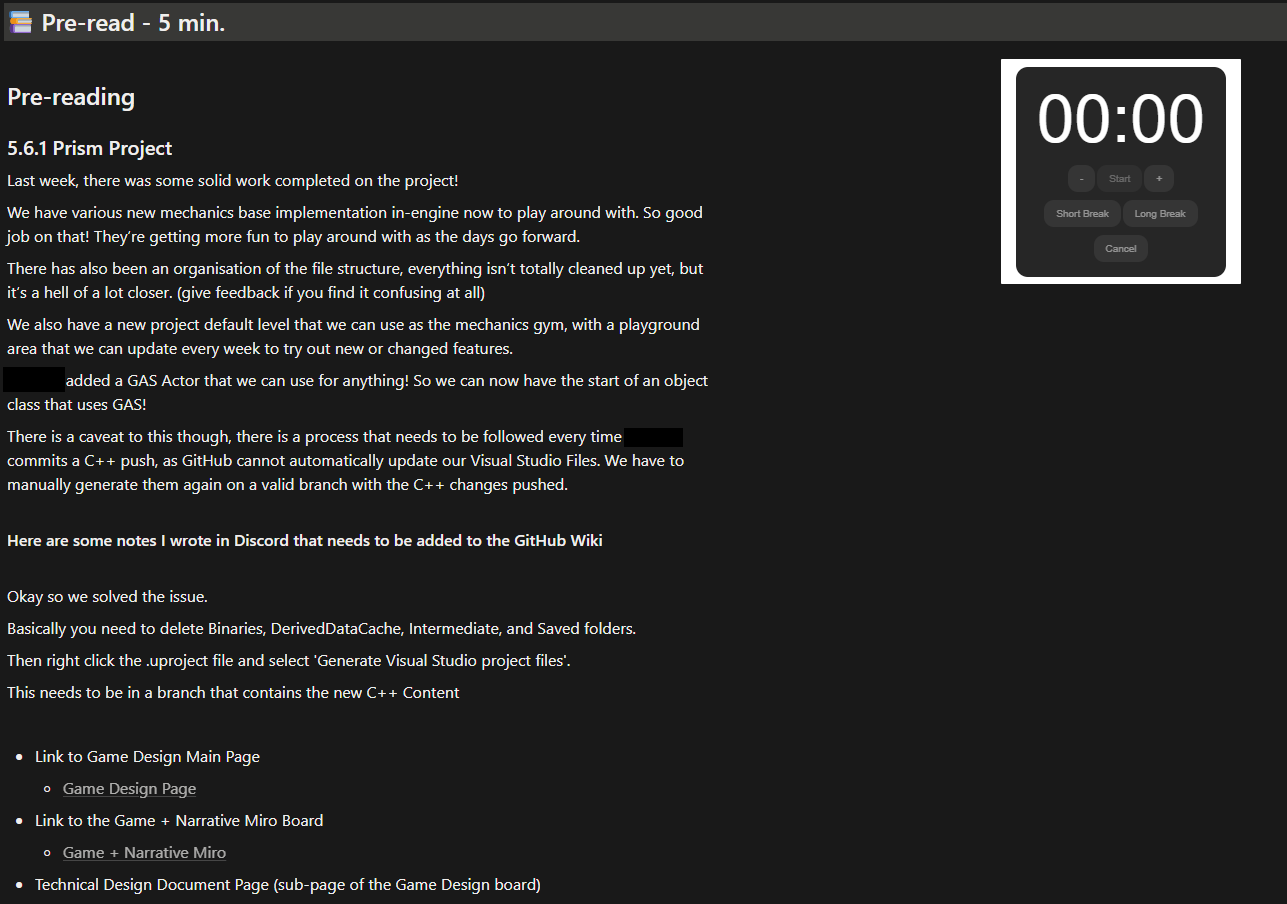
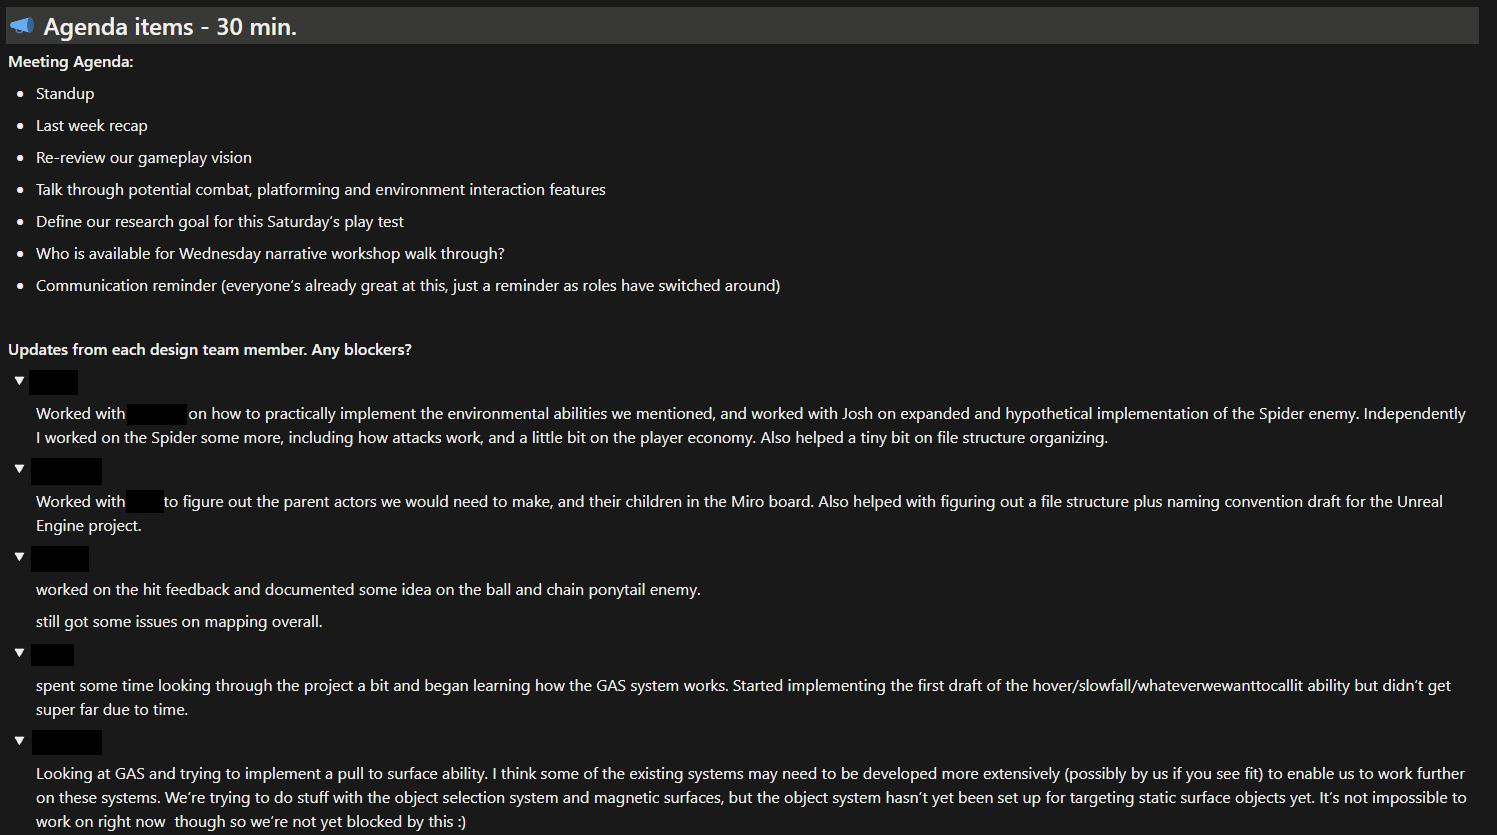
To start, this meeting was my opportunity to inform other designers of updates within the project as a whole or about other teams such as art or production in a recap of the previous week. Afterwards I would get my teammates to give updates on their progress and if anything is blocking them currently.
Towards the end of the stand-ups we would discuss any events coming up in the next week, or if we need to re-evaluate any plans on the design side that could impact other teams.
Overall my ability to run these meetings got better with practice and I found a pace that worked well with the other designers. The main difficulty I found was that often people wouldn’t be able to attend the weekly meeting due to scheduling issues that were hard to solve with such a large group.
I opted to start recording the meetings in full and posting them on Notion in a ‘Meetings Quick Links’ section that designers could access from the ‘Design Home Page’. I think it alleviated the issue a little bit, but I still made an effort to contact individuals to check up on them so that scheduling issues could be resolved.
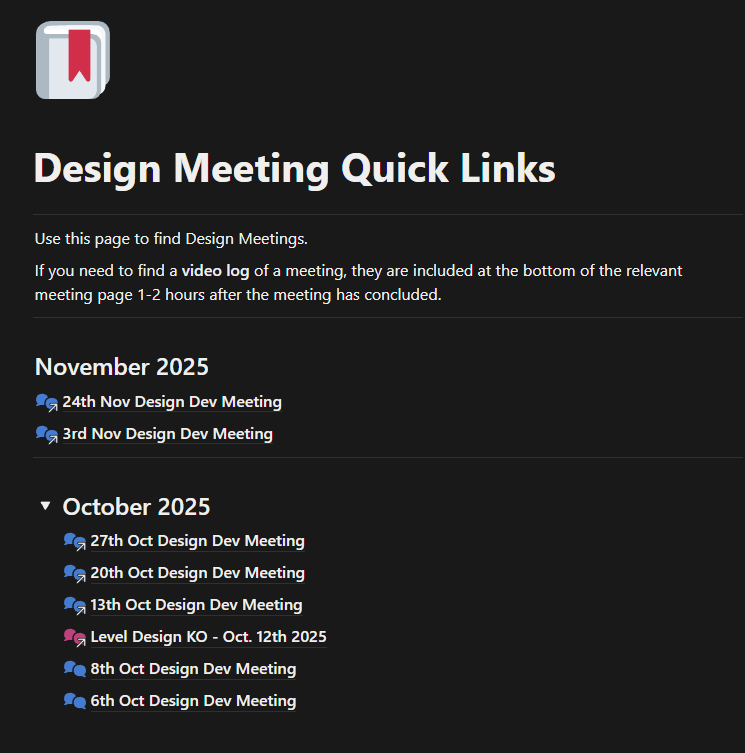
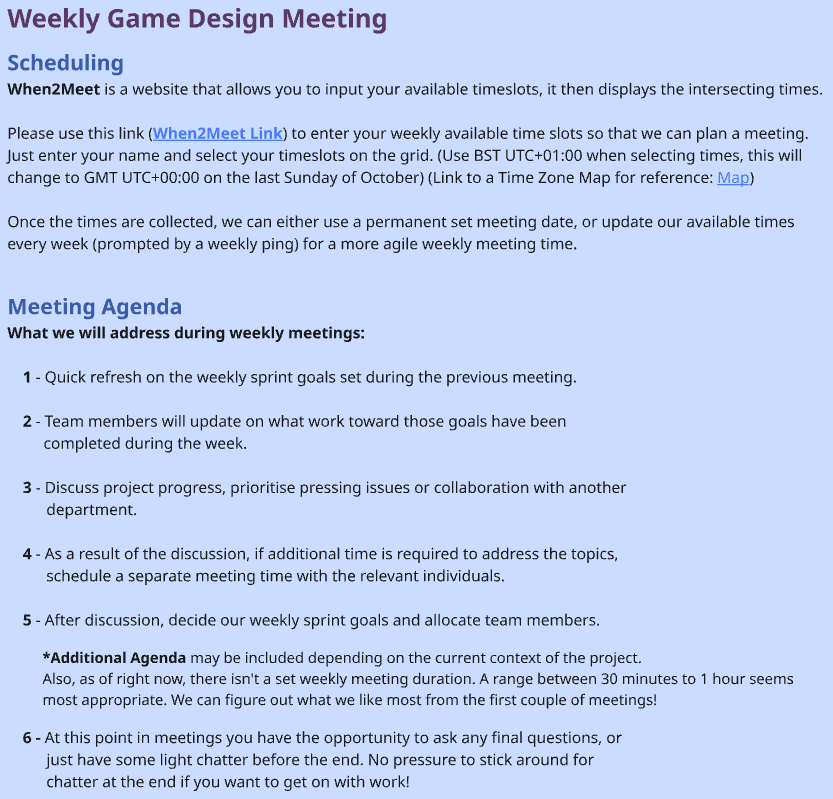
When first organising the meetings I created a resource on the already existing Miro board to give a run down as to how stand-ups work. This was accompanied by other information such as longer-term goals, through conversation I started to learn team members individual strengths and could start to plan accordingly.
Below are some examples of how the meeting pages were set up on Notion, these would be accessed during a stand-up for team members to write down notes, questions, blockers in advance for more efficient meetings.
Game Design Lead - Organisational Practices
This section will quickly go over resources I created for me and my team to use during development. I created these alongside my standard design work.
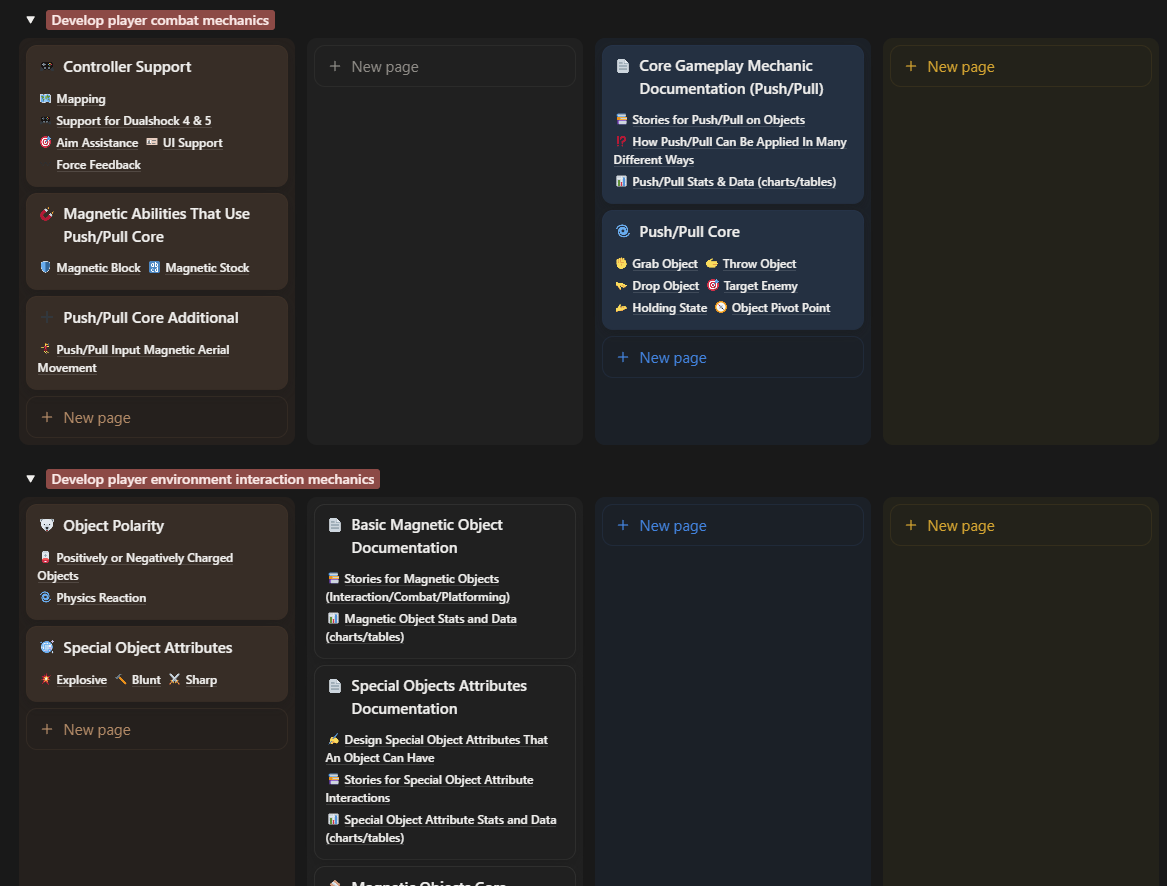
Game Design Kanban -
Helps the entire team keep track of who is working on what feature and how far along they are in the process.
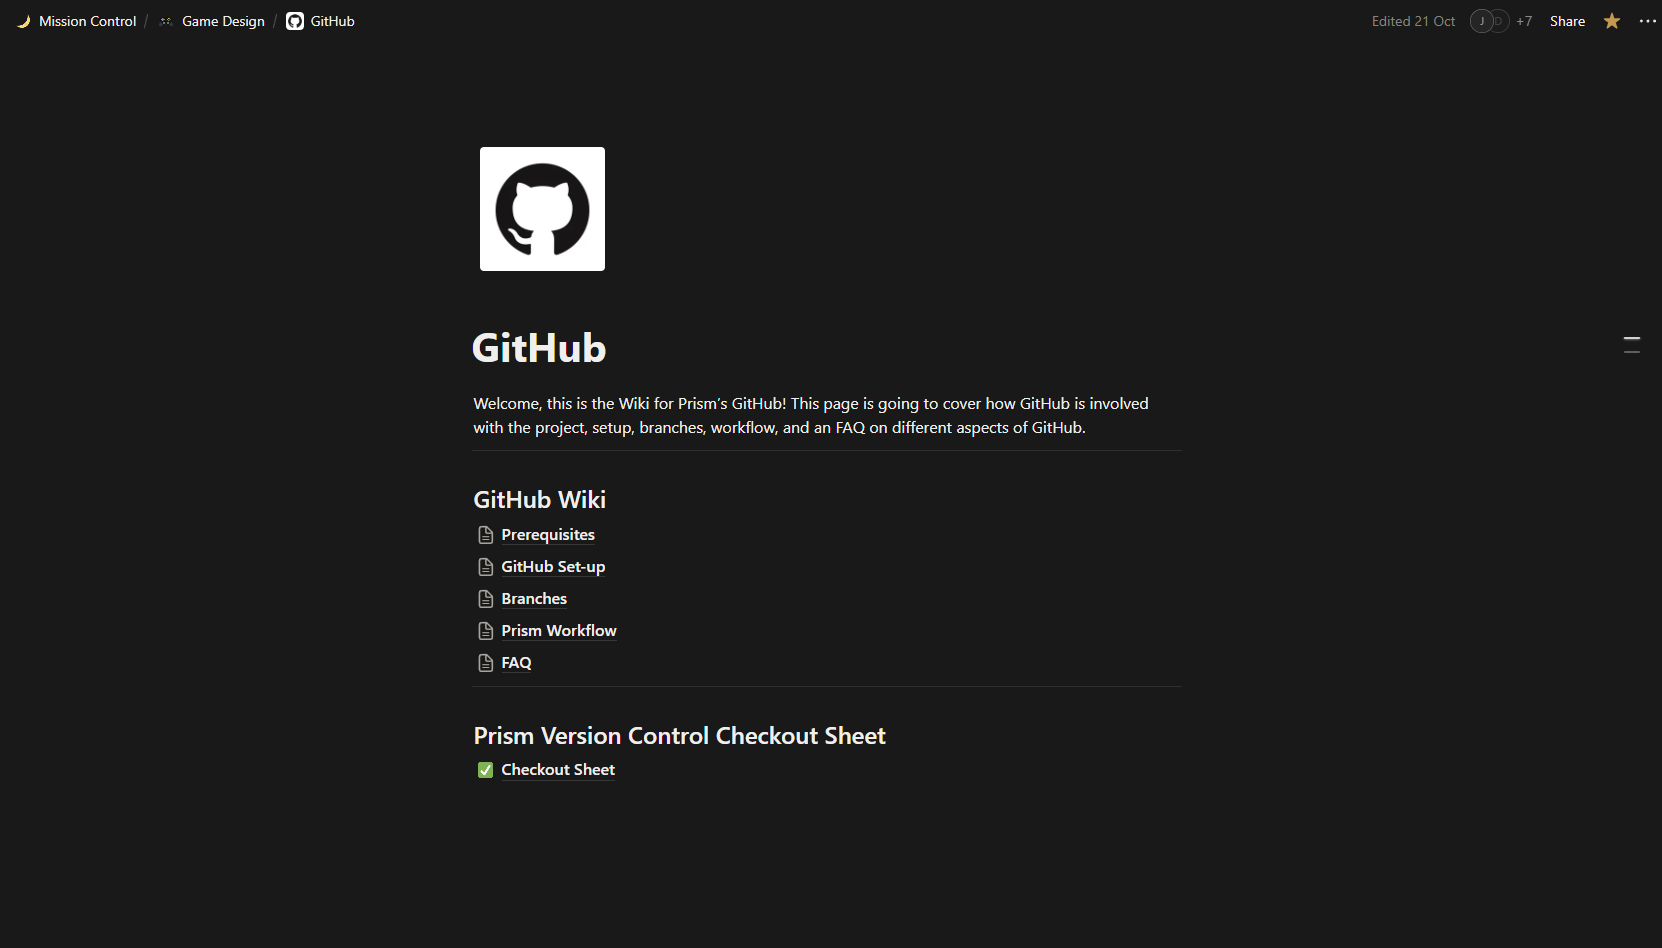
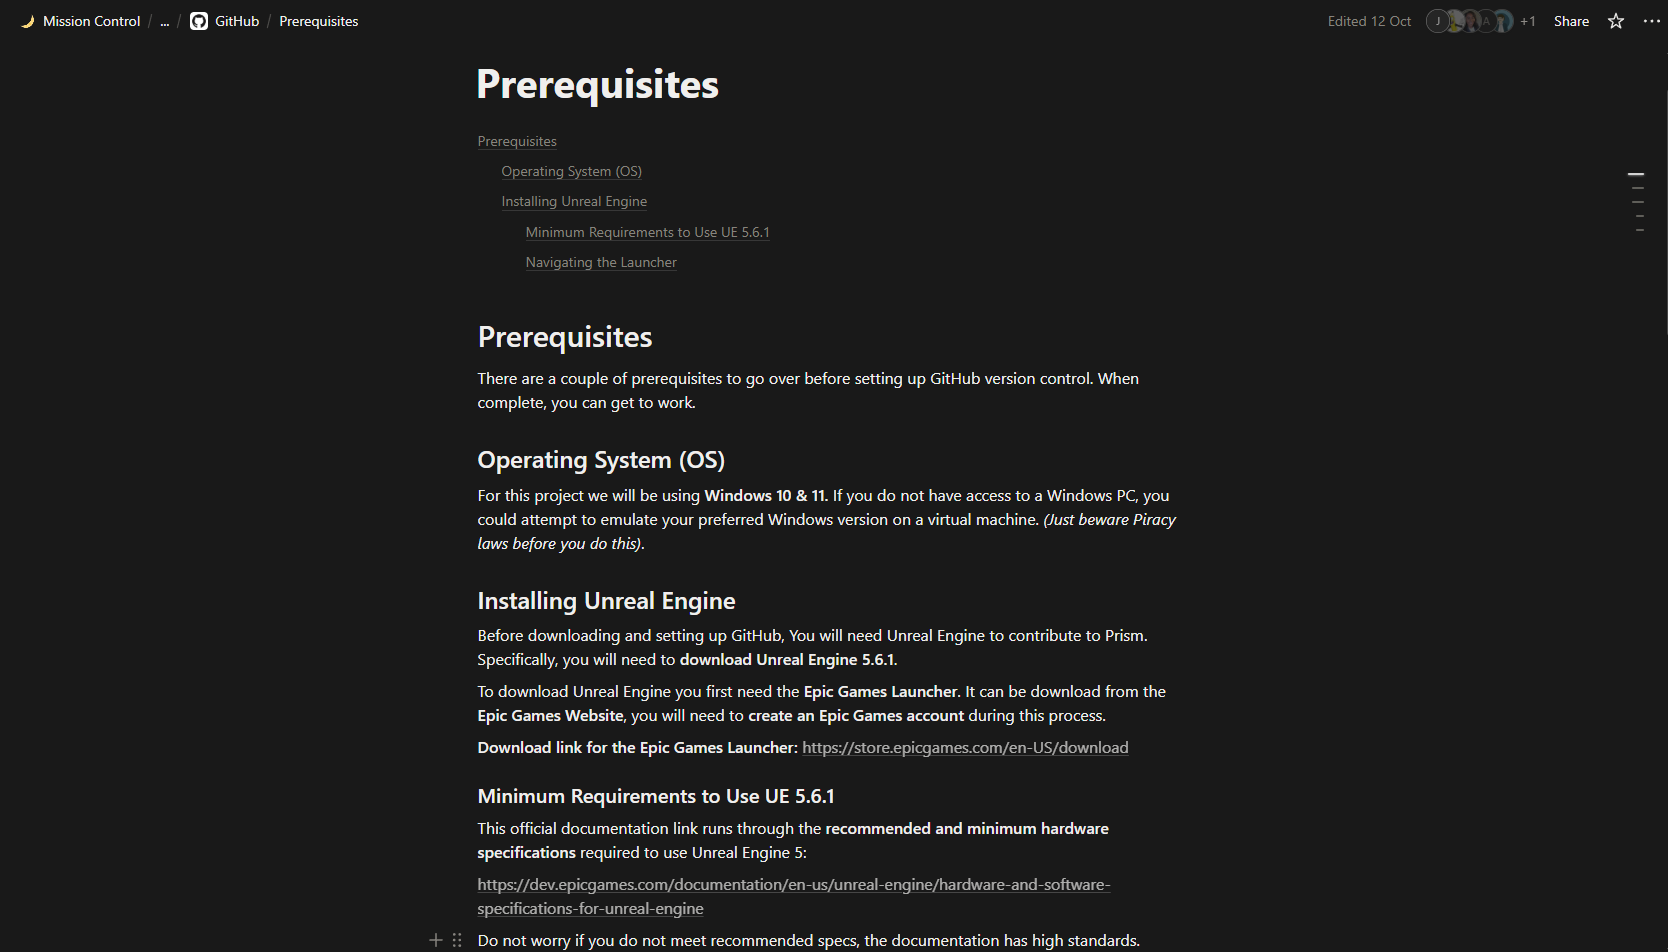
Notion-based Wiki -
Used alongside our GDD, team members could browse the wiki to find information on the project, technical specifications, version control practices and a FAQ.
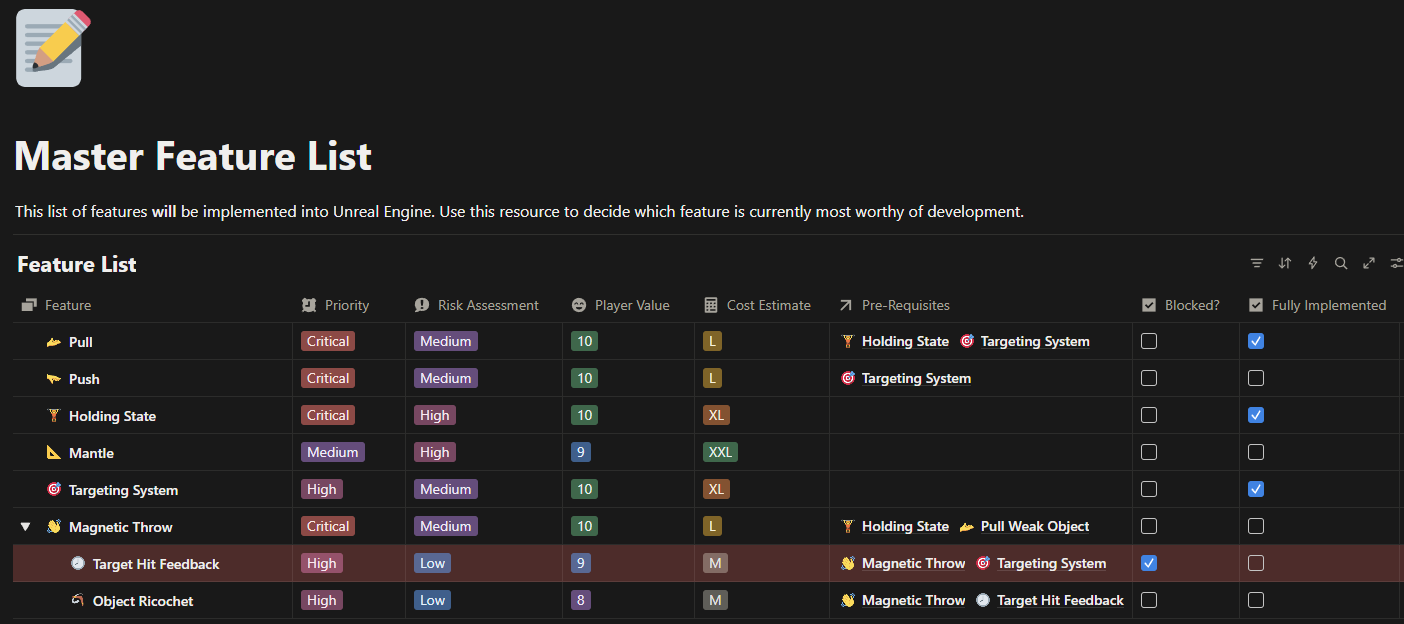
Master Feature List -
When a features design was finalised and we wanted to add it to the Unreal Engine project, it would be added to the feature list. With this list we would be able to summarise the importance of each feature and tackle tasks of the highest priority.
Design Process
My design responsibilities in this project often focused on the ‘Player Character’. With such a large team, we needed to be all on the same page, so providing as much information as I could would reduce any misunderstandings!
To reinforce my ideas, I would research concepts regarding my design topic. For this project that meant a fair bit of research into physics, to attempt to grasp how electromagnetism worked (turns out it is unbelievably complicated). I would also refer to design resources such as books, which are listed in my About Me page.
Research
Here are some storyboards I made regarding a core gameplay mechanic: Magnetic Throw!
Some research material looking at physics and magnetism!
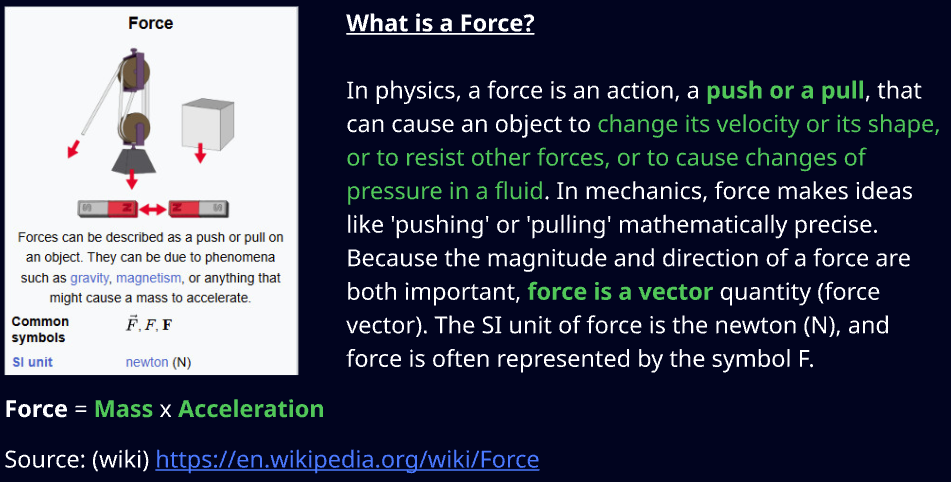
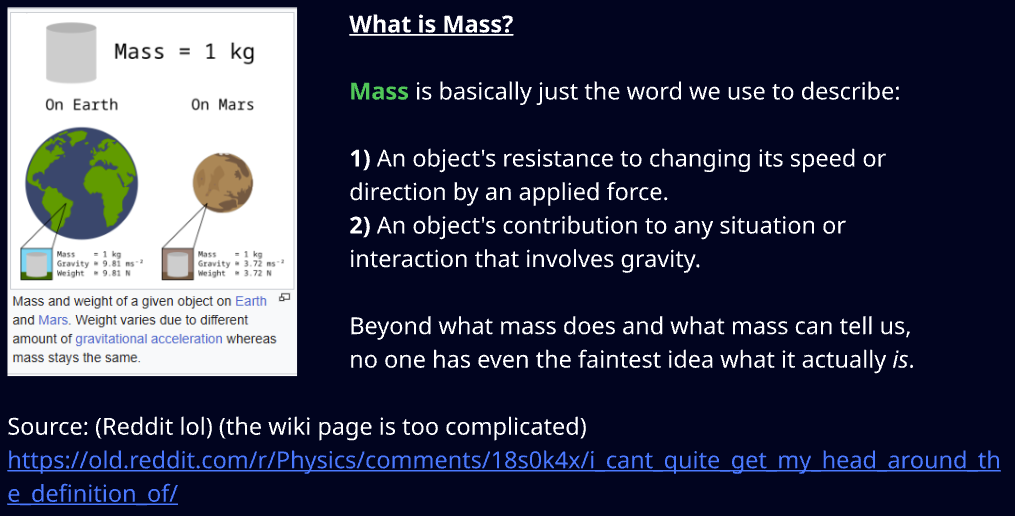
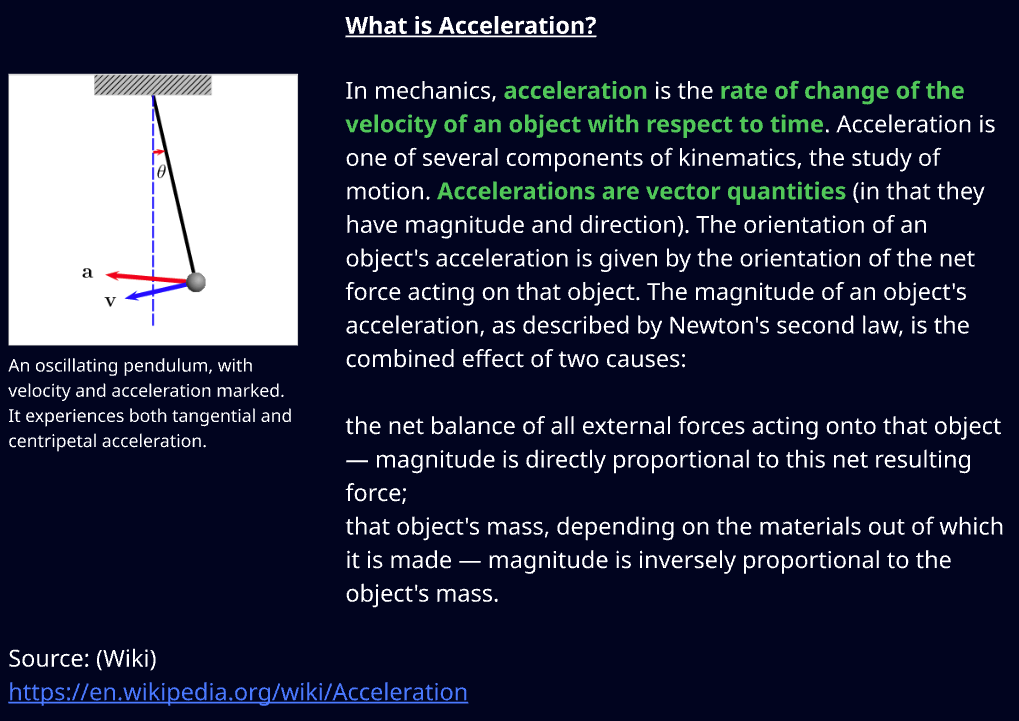
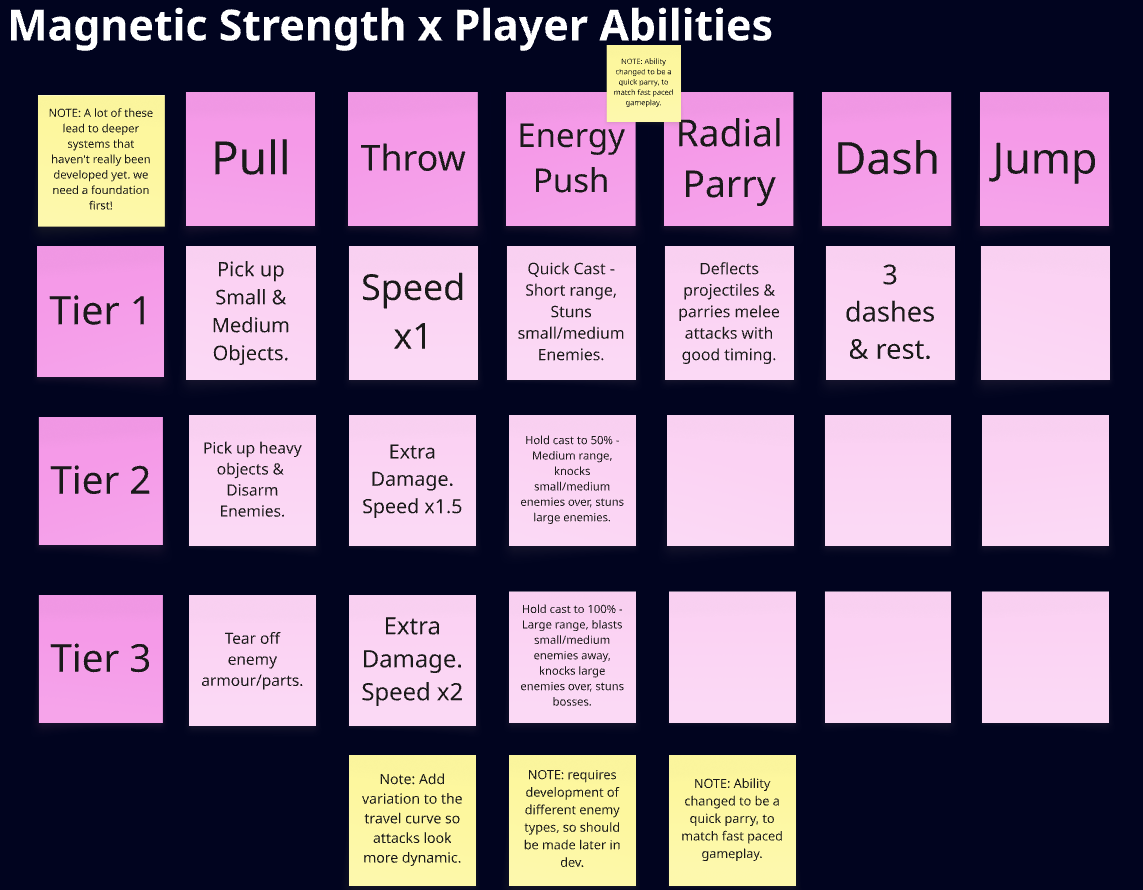
Below are some concepts for a gameplay system called magnetic strength, which features escalating power when in combat for a prolonged period of time. This snippet is a very early concept with the system itself evolving as development progressed.
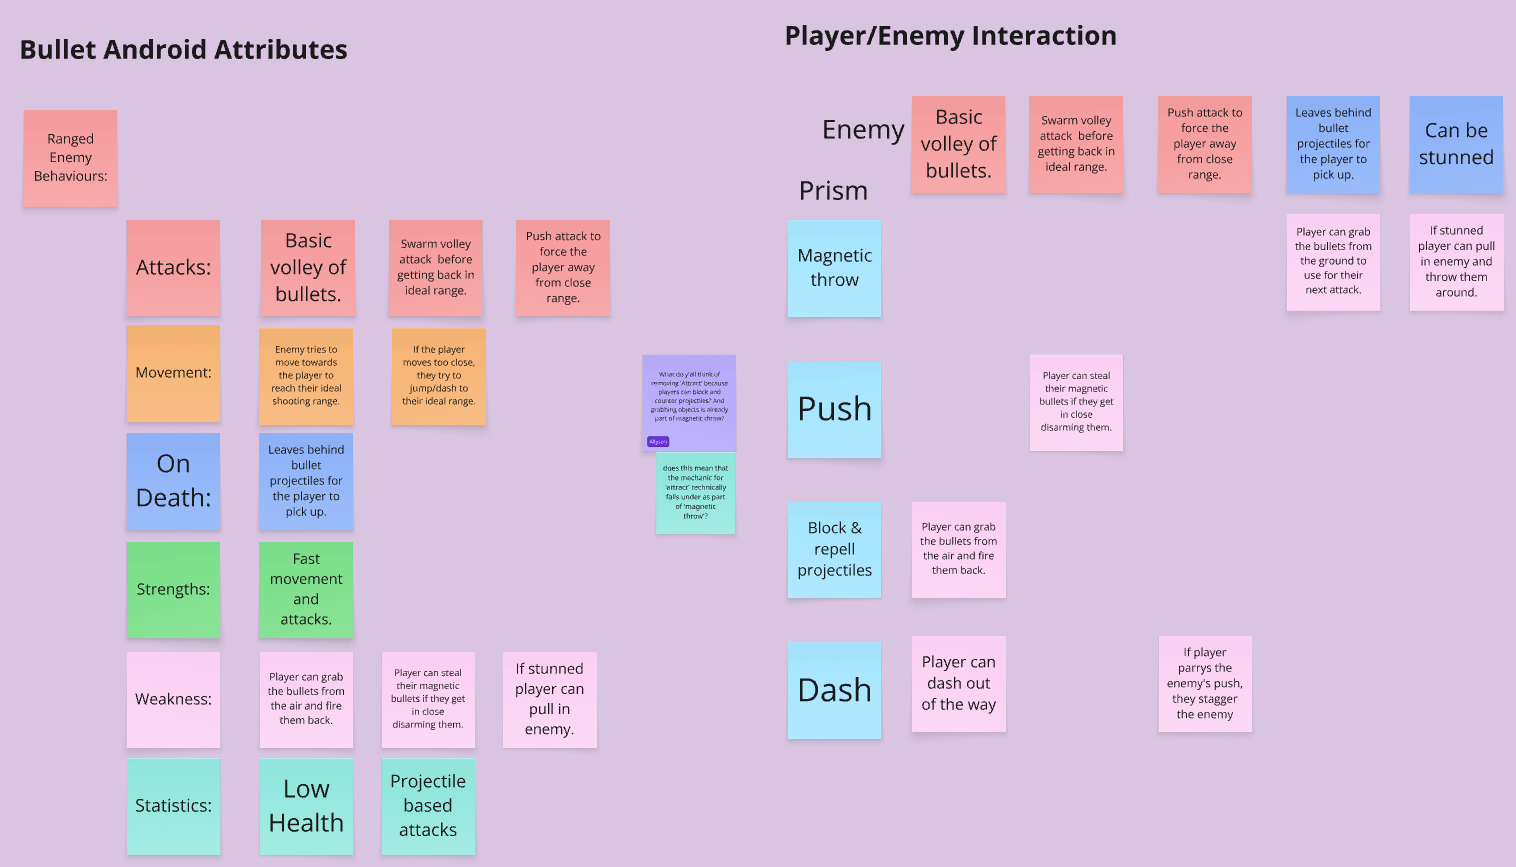
During gameplay, the player will be constantly looking around for objects to pick up and throw at enemies.
For the first pass, I used a sphere trace for targeting, but I knew that especially on controller, this method of aiming would be too punishing and relatively inaccurate when quickly trying to grab specific objects. Especially if there is a particular target you want within a group (think an explosive barrel next to normal barrels).
Because most actions in the game require a target, I knew there needed to be extensive care taken when implementing this foundational system. So I wanted to make a calculation and filters that were simple to implement and easy to build upon if necessary.
Targeting System
Click the page below to open a PDF in a new tab outlining the systems details.
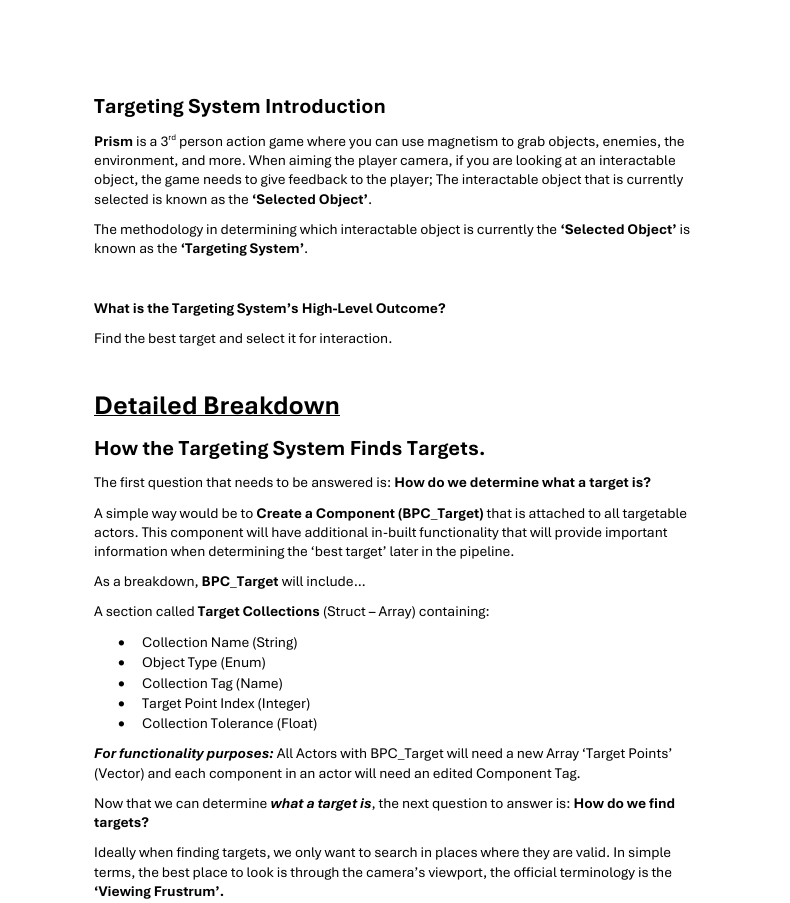
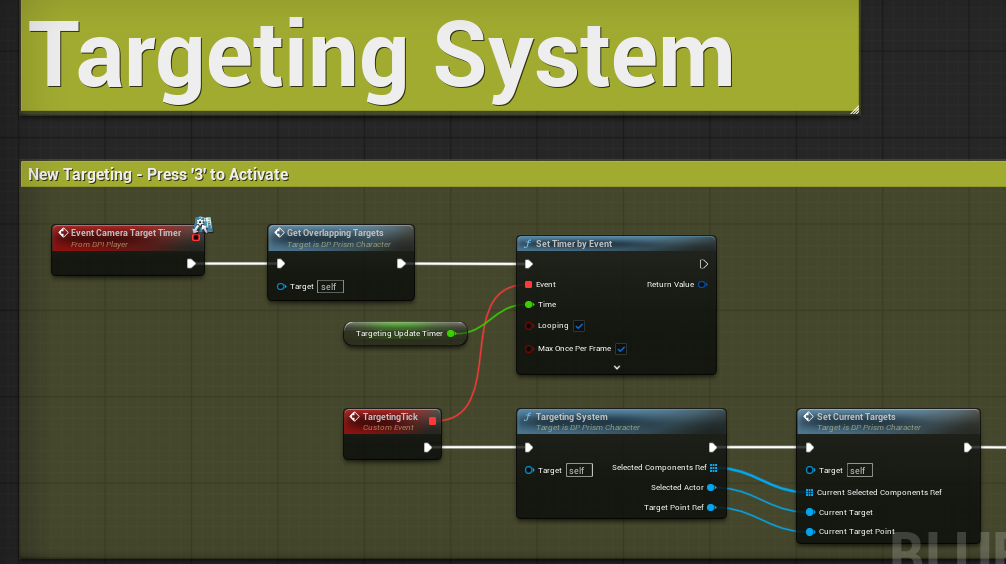
Most BP script regarding the targeting system is within a function, as to keep the event graph within the playable character tidy, while also keeping functionality in a single place.
I recommended that we use GAS as part of development during this project. With the vision of the player character and some enemies having abilities in common, using GAS felt like a good way to ensure proper implementation of mechanics. While also saving time, not having to recreate the same ability multiple times.
As an example, pulling an object into the players hands was made with GAS, so that certain enemies could use magnetism to pull objects into their hands too!
Gameplay Ability System (GAS)
The example below shows how the targeting system works: Range, scoring based off of the centre of the screen space, filters, player states and ricocheting.
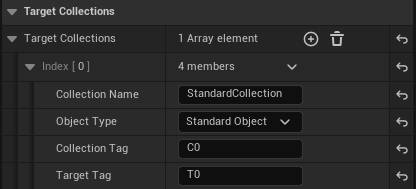
Assets in the game have a BPC attached that defined it’s targeting characteristics. It is possible to split a single actor into multiple targets and object types by tagging components assigning them to additional ‘target collections’.
In the example below, you can only target ‘enemies’ while in the ‘holding state’, showing the filter in action.
Below is how a target collection looks when attached to an asset and was how the base class for ‘targetable assets’ was set up. Most assets are a single collection, so this is a very quick plug-in for 8/10 cases.
Additional Responsibilities
Here is a shorthand of a few other responsibilities I had during development.
Level Design
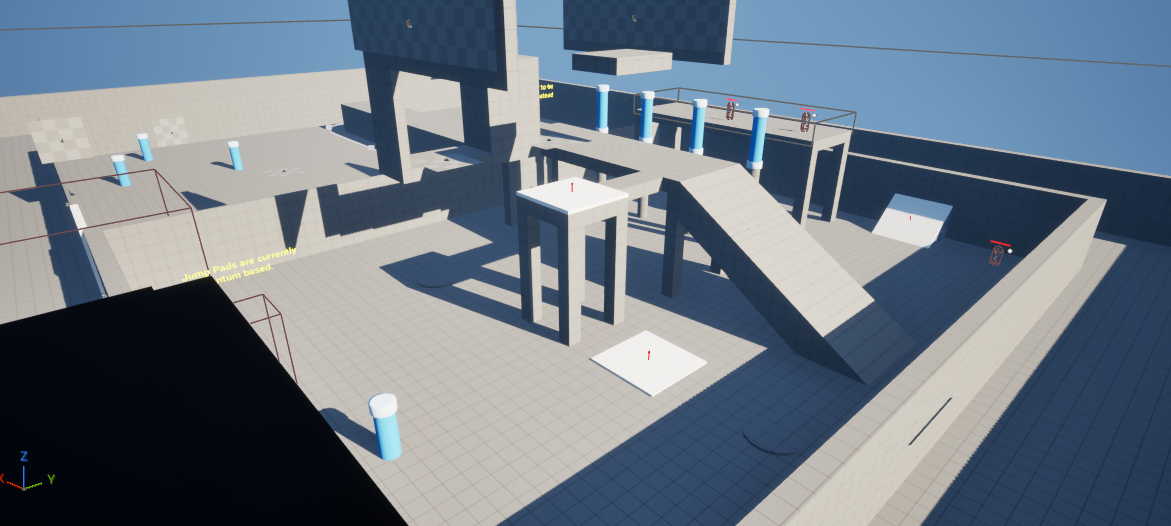
During the early stages of the project I completed some level design tasks such as making a development playground and test level to help validate our gameplay mechanics.
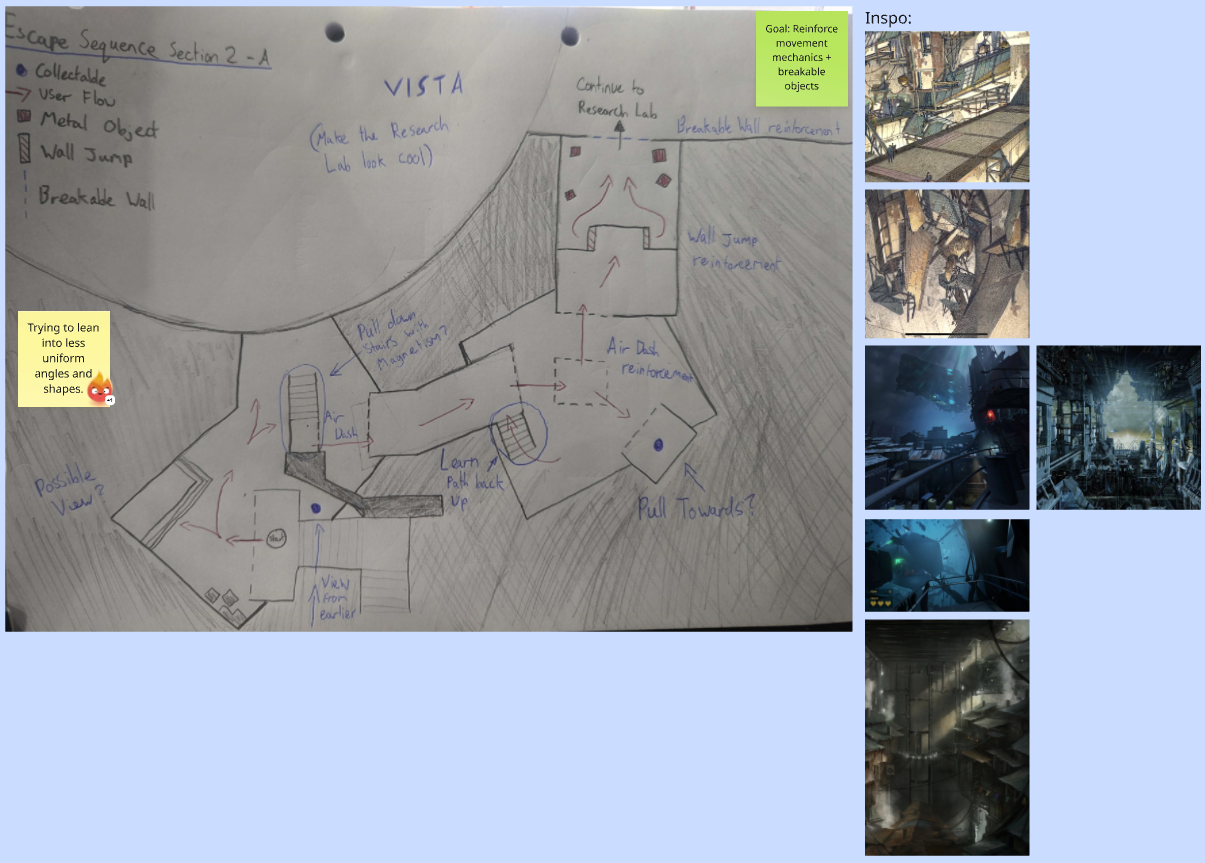
I also did a bit of design on paper to give some ideas as to how levels might be structured for when we a ready to start making a demo.
Bug Fixing
When the team encountered bugs or errors I would often go through our bug reports and make fixes where necessary. This also included reporting and documenting any bugs I found myself during development, usually they would appear from discrepancies when pushing/ pulling content from GitHub.
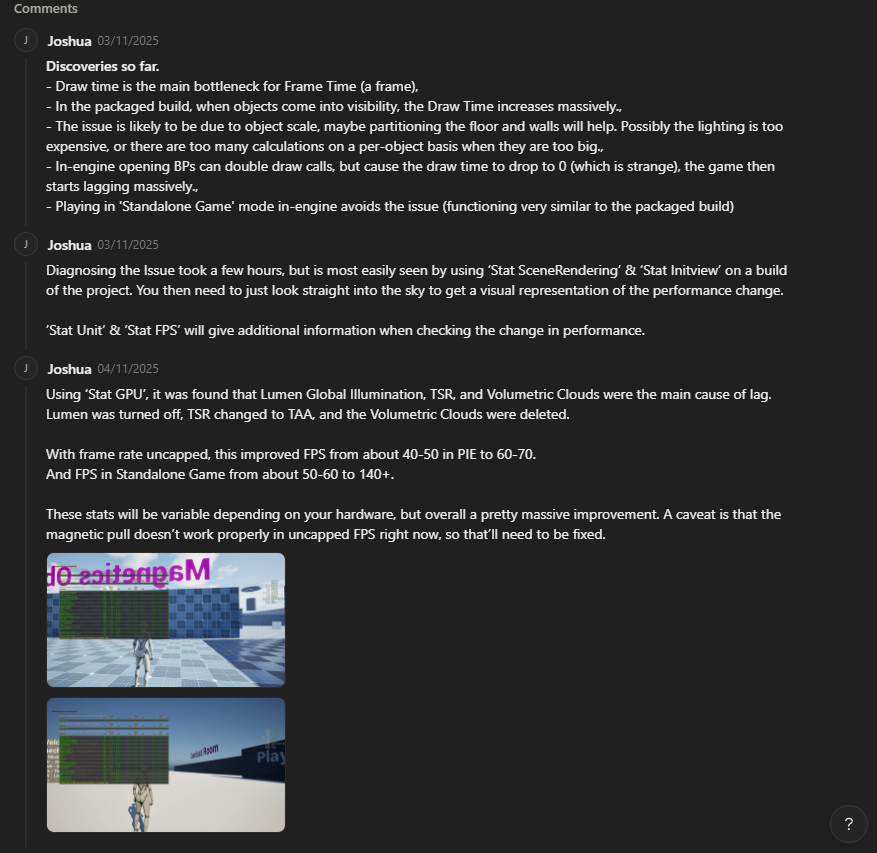
One of the ways I tried to detect issues was by using Unreal Engines Stat Commands to view CPU & GPU data. Usually finding the outlier would lead to the source of the issues.